
This class is on March 22, 2024, from 9 - 11 PM Eastern Time.
(6-8PM Pacific)
(6-8PM Pacific)
I will send you 5 Easter eggs in the mail before the class date. You will need to have your own wood burner.
This workshop allows you to try burning small 3D eggs. Some pyrographers never burn on anything other than flat wood pieces, so this will allow you to try something new just for the heck of it.
Of course, you'll gain some valuable woodburning experience in this workshop. You'll learn how to handle small 3D objects without burning yourself (or the table, or your clothes) and you'll navigate how eggs can trick your perspective as you're working on them.
This class is hosted online through Zoom. The class link is available in this portal once you purchase a ticket.
Is this workshop right for you? If you resonate with any of these, then this workshop is for you!
- You just want to try burning a *few* eggs without having to buy a huge set of eggs online (because what if you end up hating them and then you're stuck with all those stupid eggs? It's better to just try a few first.)
- You want to try something new and have fun while doing it (I mean honestly, who doesn't?!)
- You want to have a fun evening with your pyro peers while challenging yourself to a new woodburning project
- BYOB- Bring Your Own Burner
- Bring the eggs I send you in the mail
- You need to know how to use your woodburning machine. This class does not cover woodburning basics. You don't need to be a pro, but you do need to know the basics.
- Good internet connection
Renée Foskett Wilson, Pyrographer + Art Educator
HEYO!
I'm Renée- a fun and silly mixed-media pyrography artist, art educator, and small business entrepreneur.
I'm here to teach you no-fluff, high-touch, in-depth workshops that take you through the nitty-gritty details in an authentic way to help you explore, learn, and grow as an artist.
I teach as if we're sitting together and having a conversation. I keep it raw and real. No gatekeeping. No secrets. If I don't know the answer then I'll help you find the answer.
Subjects and topics are approachable, easy to understand, juicy, and specific. We go step by step, building block by building block. I make jokes and TikTok references and laugh and make learning fun.
I deliver information that actually answers your questions.
So jump on in. I'd love to lead you through this woodburning workshop, step by step.
1: Eggs eggs eggs
I send each student 5 eggs in the mail! This allows you to try out a new wood surface without a ton of upfront cost. If you buy a whole set of eggs online but end up hating the eggs, then you're stuck with all those eggs. Womp womp. It's better to test them out first before splurging.2: Learn how to hold an awkward 3D surface while burning it (and not yourself!)
Eggs are different from your normal flat wood slices because they are rounded and tapered. Your designs can look funky if you don't know how to account for the tapered, round edge of an egg. I will give you my tips and tricks for official egg-burning.
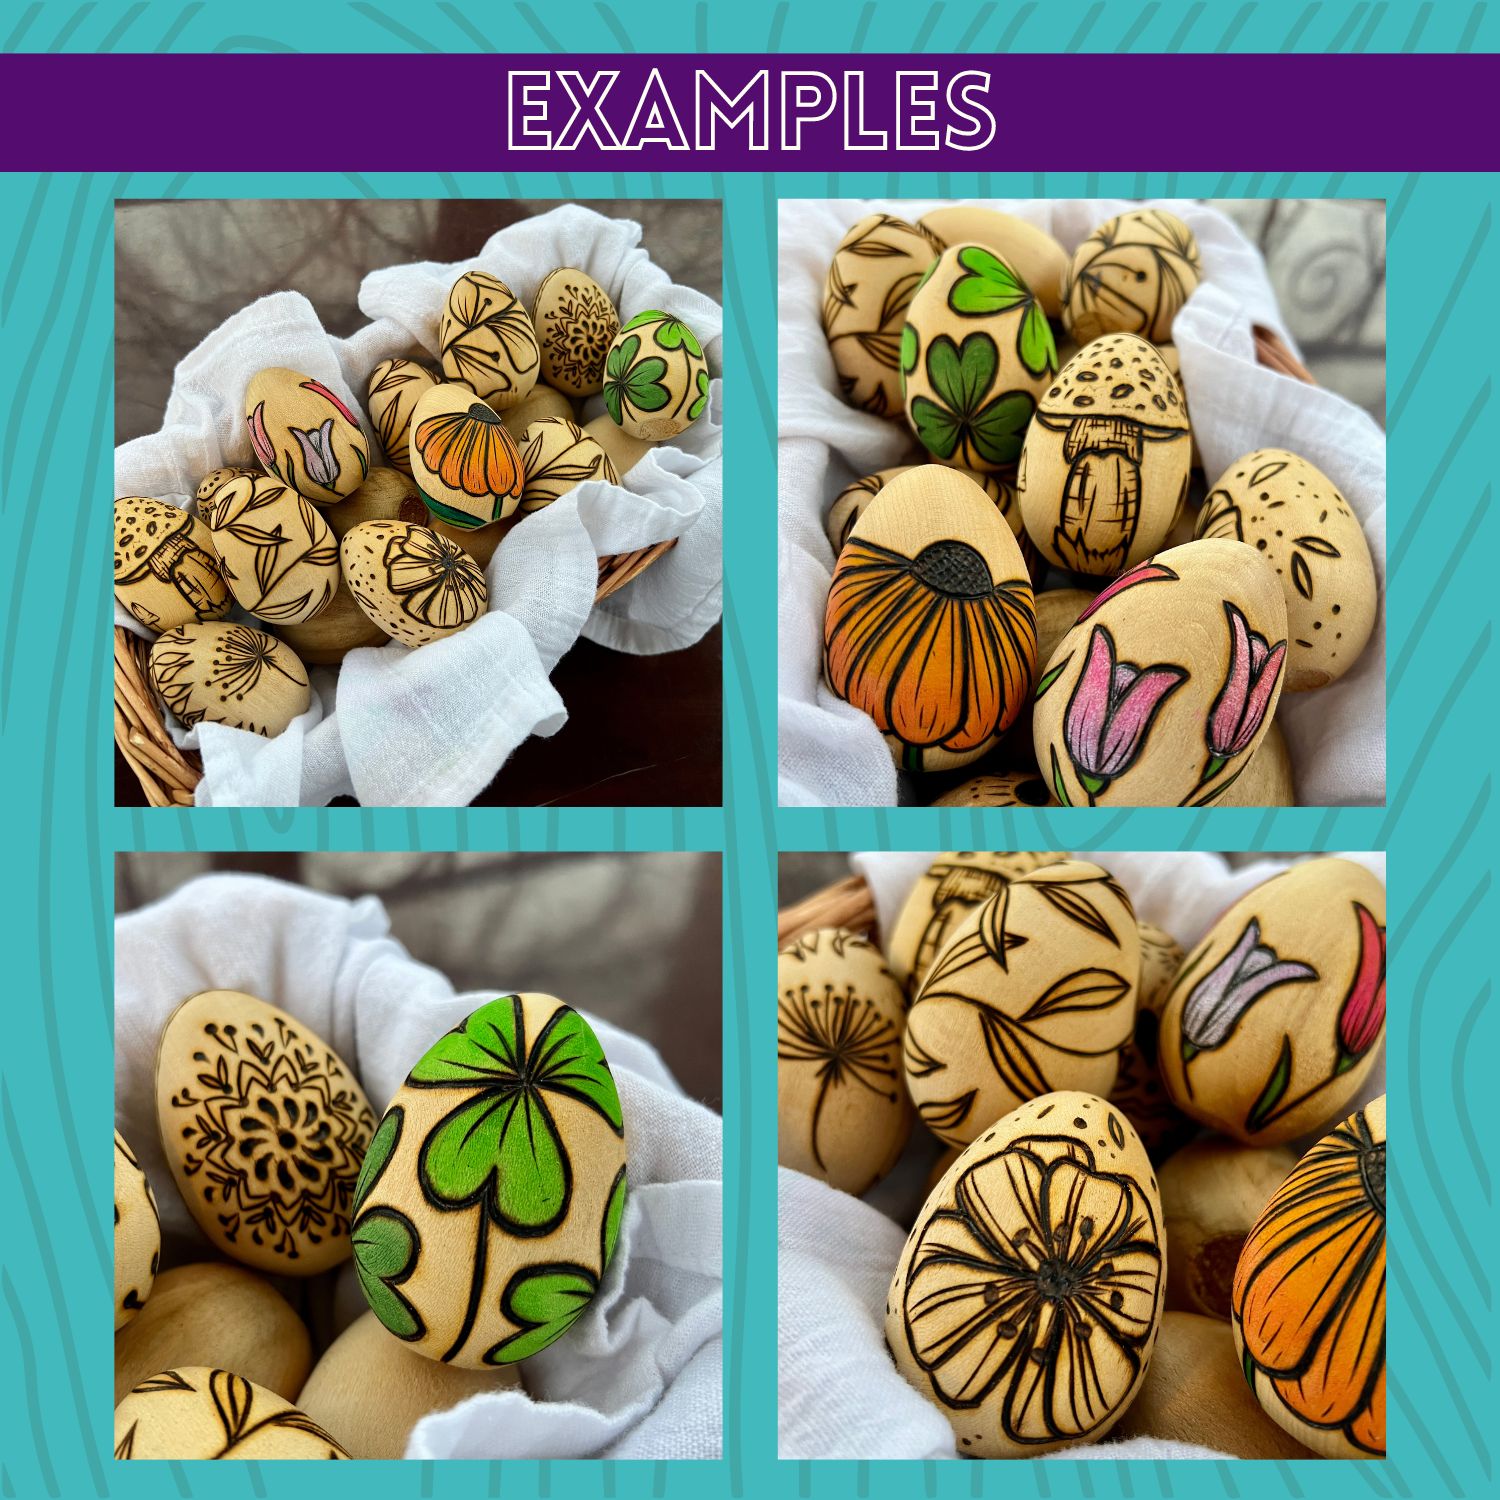
3: We're going to do some botanical designs and some traditional Easter patterns
We'll do botanical designs on 3 eggs and "normal" Easter egg patterns on the other 2 eggs.
4: We're freehanding our designs directly onto the eggs- no template!
It's super tricky to transfer a design onto an egg since they're round. We're not going to deal with that. Instead, I'm going to show you some simple designs anyone can draw (yes, even YOU!) and you'll sketch them directly onto your eggs. You don't need to know how to draw. Trust me, I'm showing you exactly how to sketch these designs.
Ready to burn your eggos? Claim your seat now!
- You'll receive step-by-step breakdowns for all of the eggs
- You'll walk away with new skills and a fun woodburning project under your belt
- You'll receive the full recorded class afterwards available to replay over and over
- There's also a complete resource library with links